Project Source Code
The project source can be found here:
https://github.com/daviddrell/image_proc_samples
The project structure is Visual Studio 2019 with Cuda 11.7 installed. If you are using a different version of Cuda, I find the easiest was to solve this is to edit the Visual Studio project file in a text editor and change the version number there.
Overview
This is an example of re-scaling the size of the image in gray-scale floating point format accelerated using cuda on a GPU.
This example creates a simulated image of 2048×2048. In actual image processing applications you will have an image that comes from a jpeg or tiff file and must be decoded, often into an array of RGB bytes or directly into a gray-scale format. Many image processing operations occur on a gray-scale version of the image encoded as floating point, typically of values 0 to 1, or -1 to +1.
NVIDIA cuda comes with a library of basic image processing functions which are accelerated with parallel operations on the GPU, that run on top of the cuda library.
One of these functions is nppiResize_32f_C1R_Ctx(). The file resize.cpp implements all the memory operations necessary to resize an image using nppiResize_32f_C1R_Ctx().
The file resize.h provides a simple entry point for an image resize function which can be called from a c program with no knowledge of cuda programming.
Code Details
Refer to the gitlab project link. The sample entry point from a c programing perspective is given in main.cu. The example implementation of nppiResize_32f_C1R_Ctx() is given in resize.cpp.
Sample Results
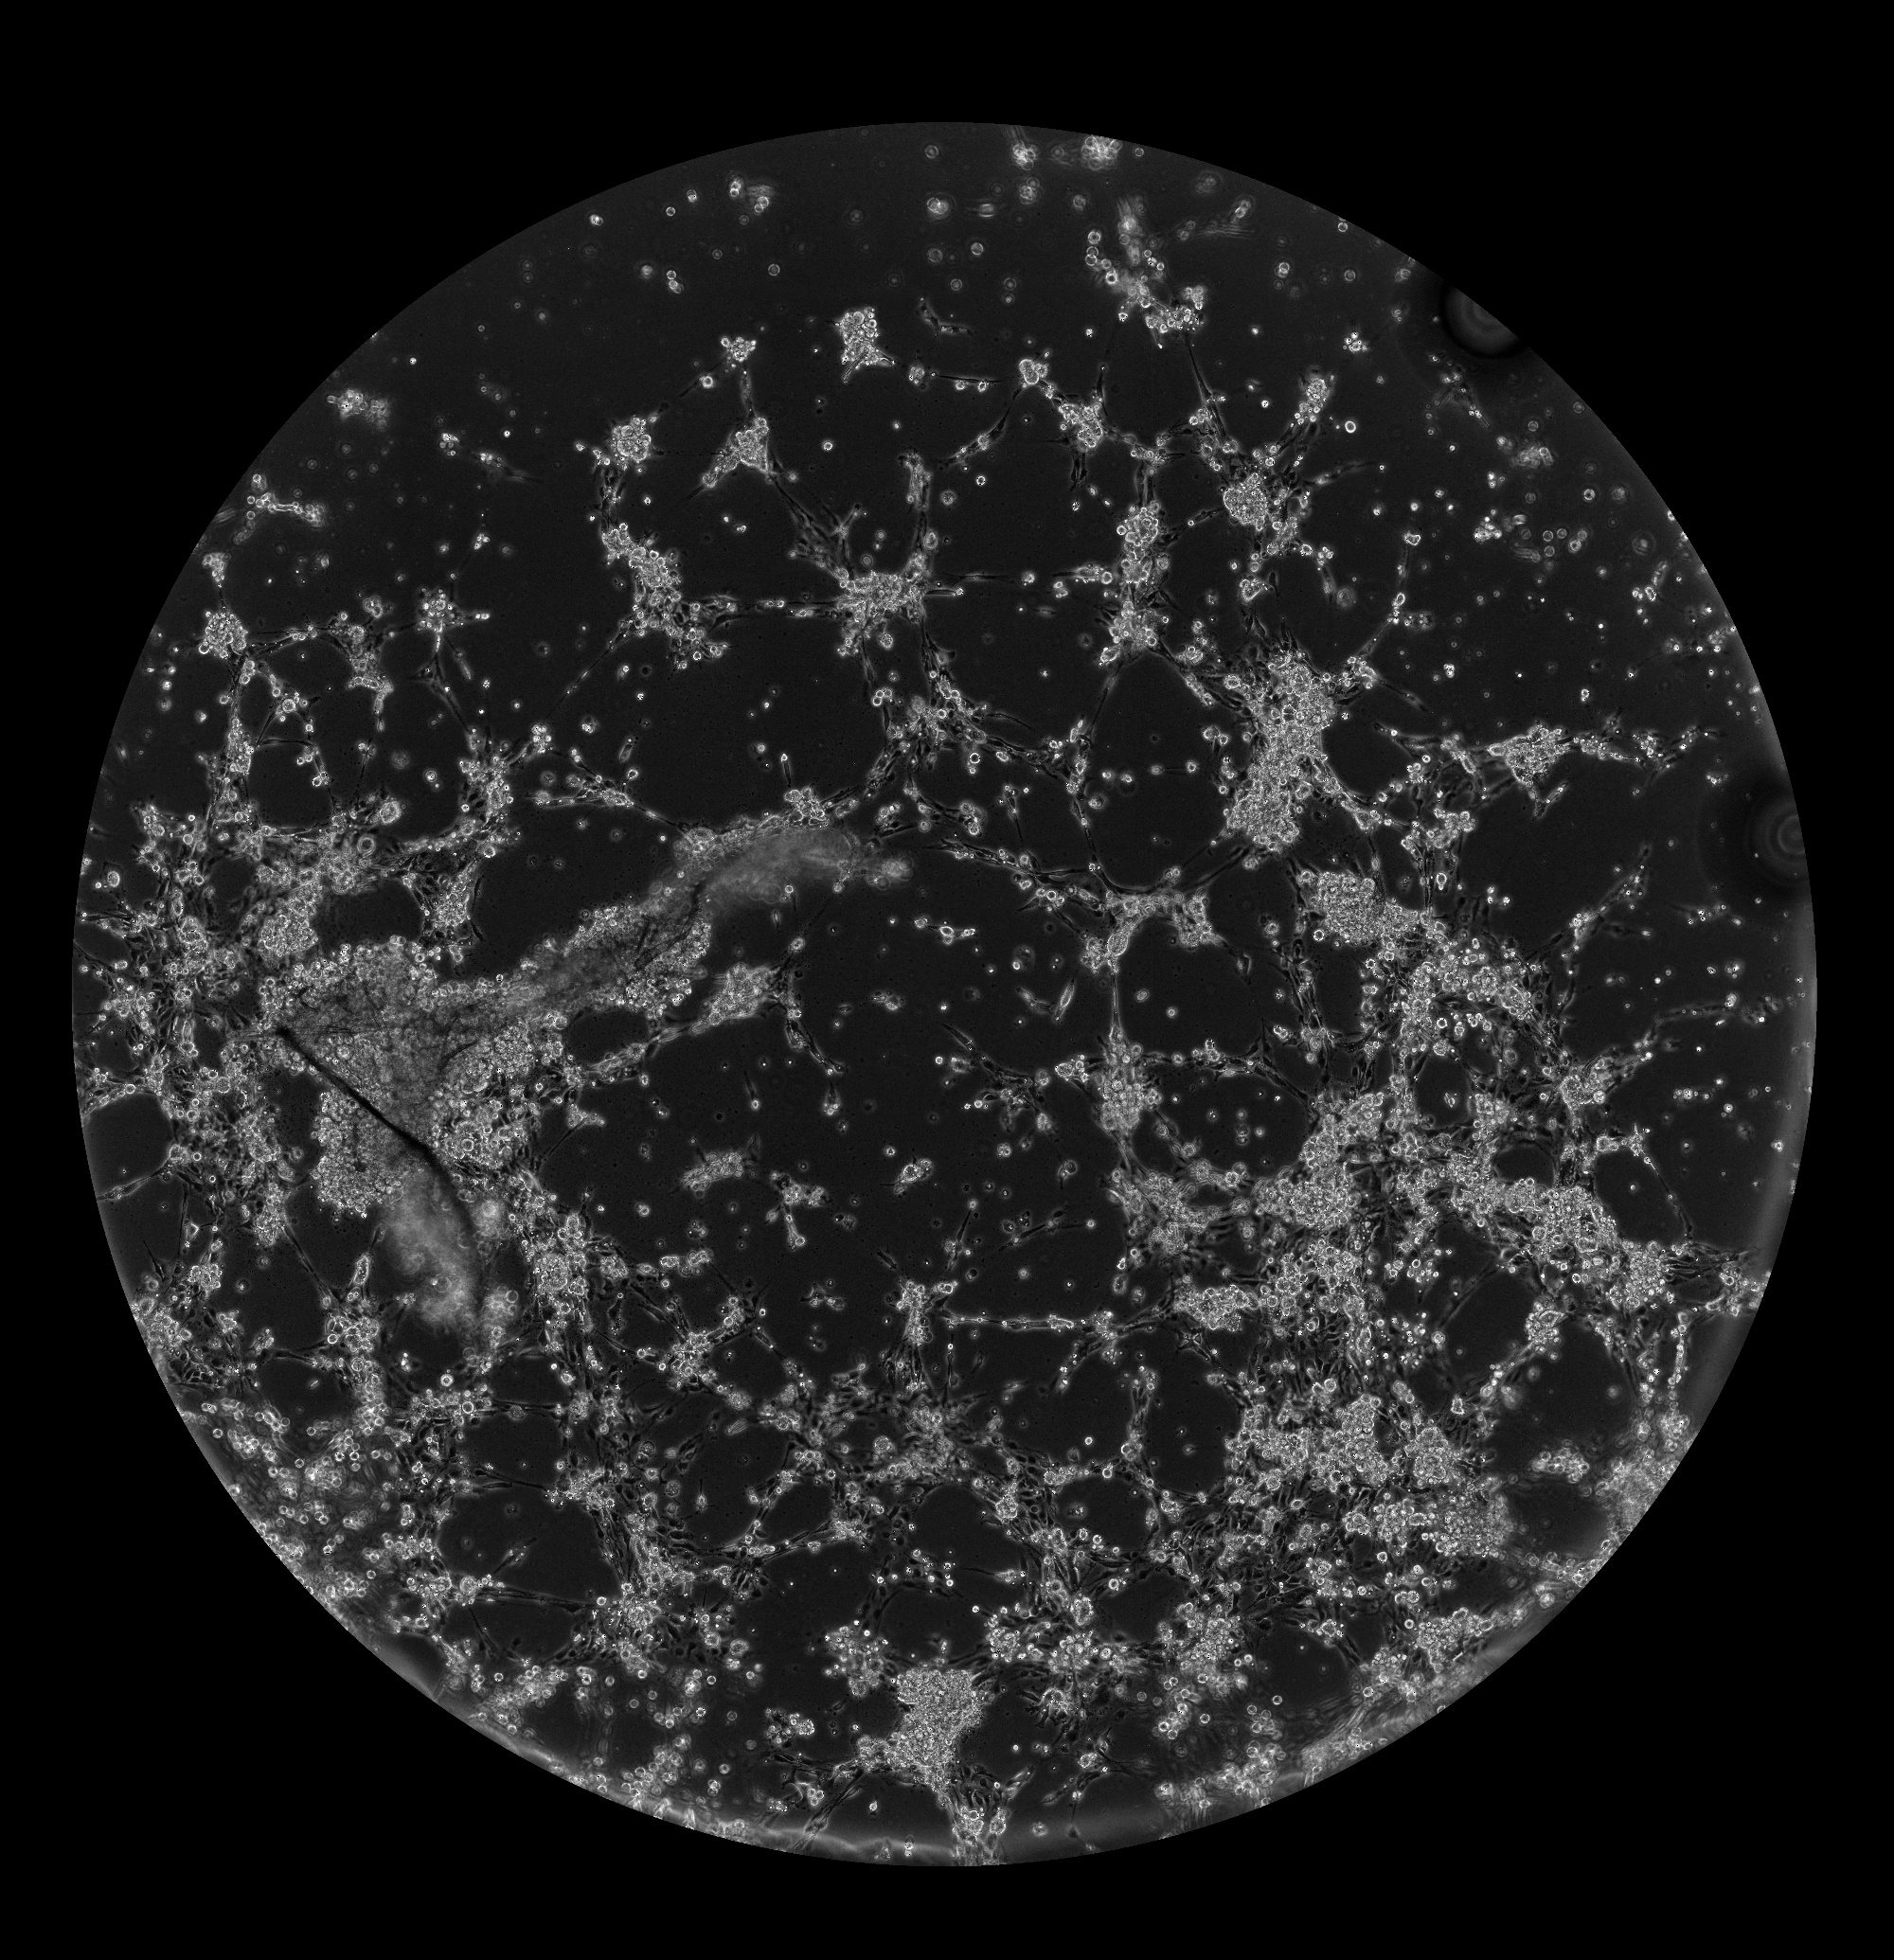
In a machine learning application, I needed to analyze a biological image (cells growing into vessel structures imaged under a microscope). The scientist provided images that were sized at 5995 x 6207 pixels. This size is too extreme for the requirements of extracting the structures. Additionally, the AI models were trained on images typically in the range of 1000×1000 to 2000×2000 pixels. So I scale down the images using the resize_Cuda() function demonstrated in the example project.
Here is the original image that is too large:

Here is the downsized image at 2000 x 2070 (the width was set to be 2000, our max AI trained size, the height was calculated to be 2070 to maintain the aspect ratio):
Here is the result of the analysis showing the branches and loops detected:
